By the time you’re looking up how to dye eyelashes, you’ve already tried a plethora of ways to give your blonde, nearly invisible lashes some definition and decided that eyelash dye is the most hassle-free way.
Congrats ’cause you’re right. Eyelash tinting is the easiest way to take your lashes from “where are they?” to “there they are!” in a matter of minutes.
As everyone with pale blonde lashes knows – life can be rather unfair sometimes. It’s not like you don’t have lashes – in fact, you have a long, full, beautiful fringe. It’s just that they are too fair to be noticed.
Well, let’s put an end to that nonsense.
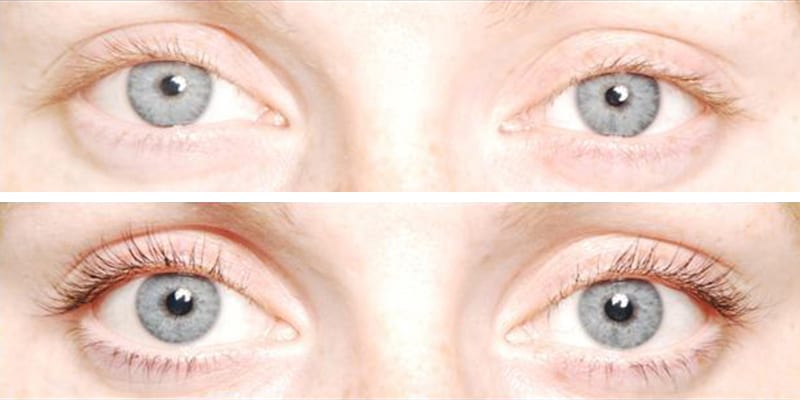
Once you know how to dye eyelashes, you’ll only have to tint that lovely fringe of yours around once a month, giving you the freedom to go mascara-free every single day without looking like you have no lashes.
Eyelash tinting is hands down one of the most effective solutions for taking translucent lashes and transforming them into lush, dark, glossy eyelashes.
The best part? The lashes that will now proudly and boldly frame your peepers are 100% yours.
So let’s get started – here’s the step-by-step guide to dyeing your own eyelashes!
Choose Your Eyelash Dye:
There are tons of eyelash dyes to choose from, which is great ’cause, you know, variety, but can also make it pretty hard to decide which one will be the best for you.
To make it easier, you can check out our best eyelash dye reviews and find out exactly which ones perform the best (and worst) in terms of color, longevity, ease of application, and risk of irritation.
It’s smart to go for a ready-made eyelash tint kit ’cause it’ll come with pretty much everything you need to dye your lashes yourself – although it doesn’t hurt to have a few extra supplies (more on this below).
Once you’ve picked the best eyelash dye for you, we’re good to go. You just have to choose a color. Here are a few tips on doing that.
- Consider your hair color. You obviously want lashes that are compatible with your hair, right? If you’re a brunette, black or even black blue can work well. For redheads, black, brown, or chestnut is good. Blondes might be best off with dark blonde or dark brown.
- The most popular color…is actually black. But that’s most likely because there are more brunettes than blondes or redheads. Go with what suits you and your coloring.
- What’s your mascara color? An easy way to choose which color you should go for when it comes to choosing tints is to look at the color of your favorite tube of mascara.
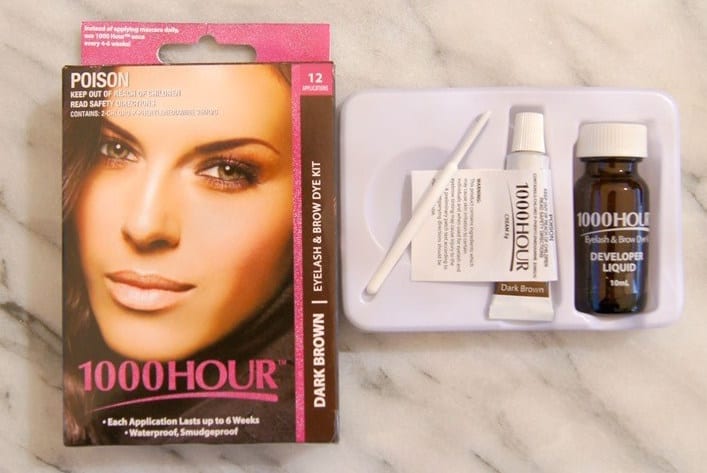
- Not all eyelash dyes are the same. The last thing you’ll want to consider is that color can vary depending on the eyelash dye. If you’re looking for deep, dark colors, Strictly Professional’s Eyelash Tint is the best. If you prefer lighter, more natural colors, 1000 Hours Eyelash & Brow Kit is ideal.
Do a Patch Test:
Yes, yes, we know – pretty much every product under the sun claims you need to do this and for the majority of things, you really don’t need to.
But this is one case in which you absolutely, positively need to do a patch test.
Keep in mind that eyelash tint is going near your eyes, which is highly delicate skin that you do not want to mess with. So don’t skip this part and do a patch test at least 24 hours before you use the eyelash tint.
Simply mix up a batch – it’s a good practice run – and apply it to the skin on your underarm and see if it checks out.
Note: A patch test is a must-do when you switch brands as well. Just because you were fine with one brand doesn’t mean you won’t have a reaction to another so always, always test before you tint!
Clean your Lashes:

You cleared your patch test and you’re ready to do some eyelash dyeing but first, a good, thorough cleansing! After all, you don’t want any leftover mascara or little specks of dust messing with your tint job.
So go ahead and wipe off all your makeup and wash your lashes thoroughly with a gentle, mild cleanser. Make sure they’re drying before you start tinting!
Prepare Your Tools:
All the eyelash tint kits we recommend will come with supplies. Some are pretty well-stocked and include one (or more) applicators as well as protective eye pads.
But some are bare bones and you may not find the applicator(s) provided to be the best for your lashes.
This is the case for every eyelash tint kit out there: half the people love the applicator that was included and half the people hate it. We all have different eyelashes, after all.
You never know where you’ll stand so it’s smart to have a few other supplies handy. Here’s a quick list of helpful things to have for your DIY eyelash tint session:
- Tray. You need something to mix the color cream and the developer in so grab a clean dish, tray, or whatever you’re going to use.
- Vaseline. Or petroleum jelly is super useful for making sure the tint doesn’t stain the skin around your eyes. Nobody wants panda eyes, right?
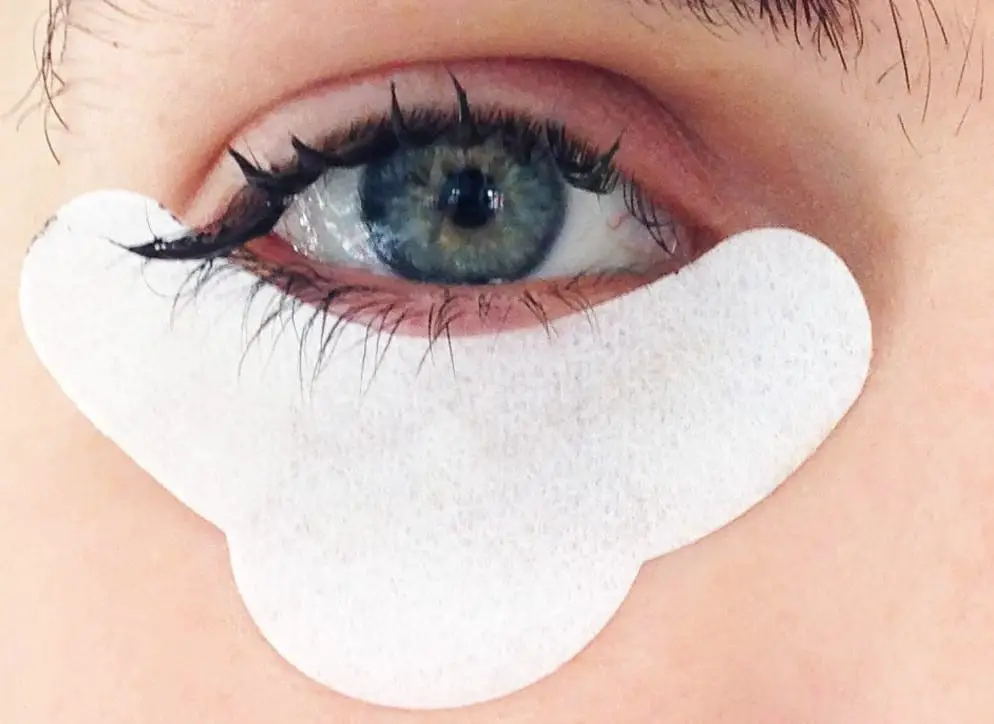
- Protective eye pads. These are essentially those curved pads that cover your under-eye area so the tint doesn’t stain if it drips. If you don’t have these, you can DIY your own by cutting a sanitary pad into a curved shape to fit under your eye.
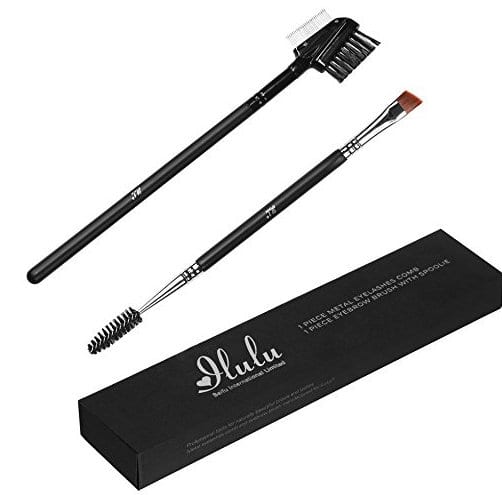
- Disposable mascara wands. There’s a good chance you might not love the applicator provided in your eyelash tint kit so get some disposable mascara wands to use. Another brilliant option is to get those little dental picks that look like mini mascara wands. Those are great for application.
- Tiny stick or brush. A lash brush, a very small paintbrush, an eyeliner brush, or those small stirring sticks that some eyelash tint kits come with are very useful to apply eyelash dye to the roots of your lashes.
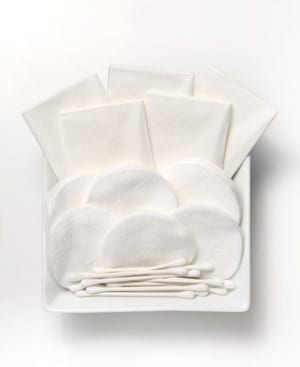
- Q-tips, cotton pads, and tissues. All these supplies are useful for immediately wiping off any rogue bits of tint that gets on your skin. The cotton pads will also come in handy when it’s time to wipe off the tint.
- Water. You want ready access to water to wipe off the tint.
- Makeup remover. If you get at it fast enough, any tint that might have stained your skin can be wiped off with a dab of makeup remover. If it’s a stubborn stain, though, you’ll want to go at it with a bit of oil and/or clarifying shampoo.
- Eye drops. If any of the eyelash dye gets in your eyes or your eyes sting when you wash it off, eye drops help.
Okay, got all your supplies nearby? Let’s get to the fun part!
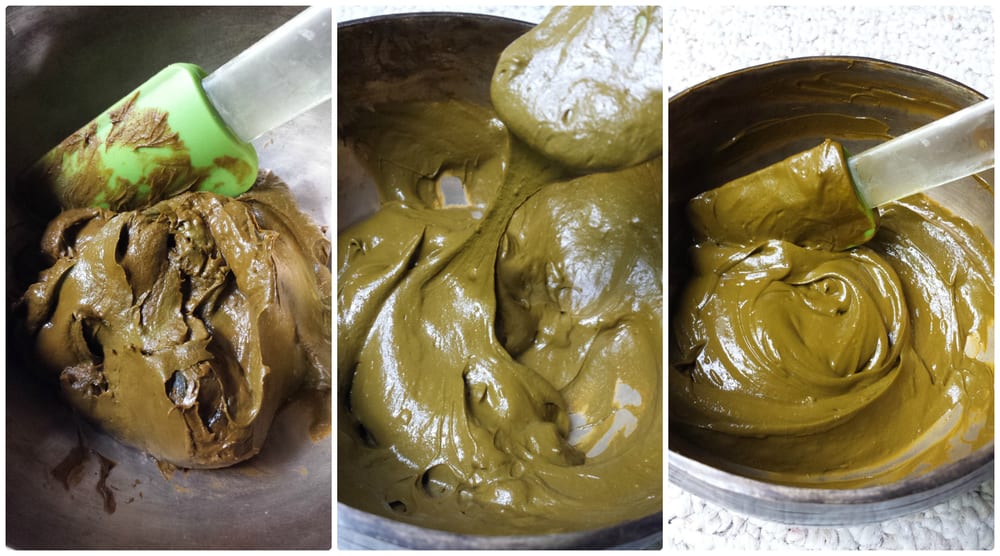
Mix the Eyelash Dye:

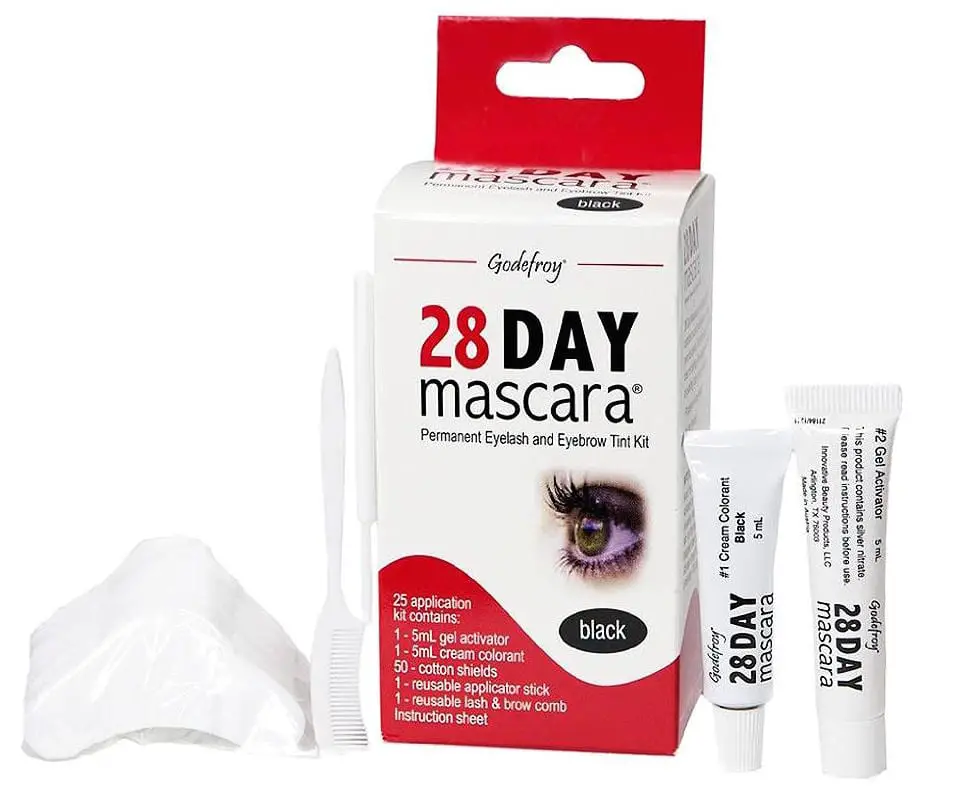
Note: If you’re using a two-process eyelash tint kit like Godefroy 28 Day Mascara, you won’t need to mix anything since you’ll be applying the dye and activator separately. Still be conservative with the activator, though, since it’s drippier.
In your eyelash tint kit, you’ll find the color cream as well as developer liquid. Remember it’s just your lashes so you don’t need too much.
When you squeeze (or drop) the cream or liquid onto the tray, be more conservative with the developer solution.
You want to aim for a consistency that’s nice, thick, and creamy as this will make it easier to apply onto your lashes and reduce the risk of it dripping into your eyes.
Just one or two drops of the developer liquid should be good enough.
Protect Your Skin:
Before we start applying the eyelash tint, you first want to make sure the skin around your eyes is protected from potential stains. Be generous with the protection ’cause if it’s your first time – you will make mistakes.
Those mistakes involve getting eyelash dye on your eyelids and possibly other areas, which no one wants.
To be fair, eyelash dye is usually fairly easy to get off the skin but hey, you never know so better play it safe than have panda eyes for a week.
To protect, apply a barrier cream like Vaseline around your eyes and/or protective eye pads – either ones that came with the pack, ones you bought yourself, or the DIY ones you made.
Dye One Eye at a Time:
Since you’ll be doing the tinting yourself, it’s recommended that you dye one eye at a time. Results are best if you can see what you’re doing, after all. So keep this in mind as we start the dyeing…
Apply the Eyelash Dye:
Finally, it’s time for some tinted eyelashes! So grab an applicator wand of your choice and get ready to dye your eyelashes. Here’s the best way to do it, in our personal opinion…
Do the tips of your lashes with a mascara wand
Load up a mascara wand applicator with the eyelash dye and apply it to your lashes in exactly the same way you would apply mascara, with your eye open – but don’t get too close to the roots.
The mascara wand is great for getting the eyelash dye on all the strands of your lashes but it’s a bit too bulky when it gets closer to your eye.
Go over your lashes to make sure you coat every eyelash. Do both the underside and the topside.
Be very careful while doing this – if the dye gets in your eyes, it will sting and you’ll tear up and you’ll need to wash it all out and start over.
To be honest, it’s much easier when you’re doing this at home ’cause you can control how close the applicator gets to your eye whereas, at the salon, there’s a feedback loop that’s not always timely enough to prevent unnecessary stinging.
That being said, mistakes will be made so be careful.
Do the roots of your lashes with a small stick or brush
Now that you’ve thoroughly coated your lashes with a mascara wand applicator, let’s do your roots. The best tool for this is something that allows for more precision. An eyeliner brush, a Latisse applicator, or a little stirring stick – these come in some eyelash tint kits, but not all – will do great.
Apply a dab of eyelash dye to the applicator of your choice and use it to gently and carefully tint the roots of your lashes. You’ll want to close your eye so you can apply on the top side of the lashes.
Some of the dye will inevitably end up on your eyelids but as long as you put on a layer of Vaseline, you’ll be fine – don’t worry about the staining.
Wait:
Now, you wait and wait for the dye to soak into the lashes. The waiting time varies depending on the eyelash dye your using so check how long it’ll be, set a timer and go eat some cookies.
You might be tempted to leave the eyelash dye on longer than the recommended time so that the tint will come out darker/last longer/be overall better but resist the urge. It’s better to do a second application than risk any potential irritation from leaving the dye on too long.
Wash it off:
Your timer goes off, it’s time! All that remains now is gently washing off the dye. Go ahead and dip some cotton pads in water and gently wipe the dye off your eyes. Once you’ve wiped off the excess, rinse your eye with lukewarm water and pat dry.
Voila! You now have beautifully dyed eyelashes!
Repeat for the Lower Lashes And the Other Eye:
Now that you know the process, repeat it to tint your lower lashes as well as the other eye.
If after the tinting you find that you missed some lashes or wiped them off too quickly – it happens – a second application can also be done. So repeat as needed.
Note: We tried our best to make this guide as comprehensive as possible but please, for the love of lashes, follow the instructions provided in the eyelash tint kit you’re using and consult this guide as another reference point for tips!