It’s not enough to know how to dye your eyelashes – you also want to be armed with an arsenal of tips and tricks to ease the entire process.
After all, a little bit of know-how can be the difference between perfectly dyed eyelashes or stinging eyes and stained skin. And nobody wants the latter experiences.
So in the interest of saving you some time, effort, and stinging – here are 11 tips for beautifully tinted lashes!
Choose Eyelash Dye Wisely: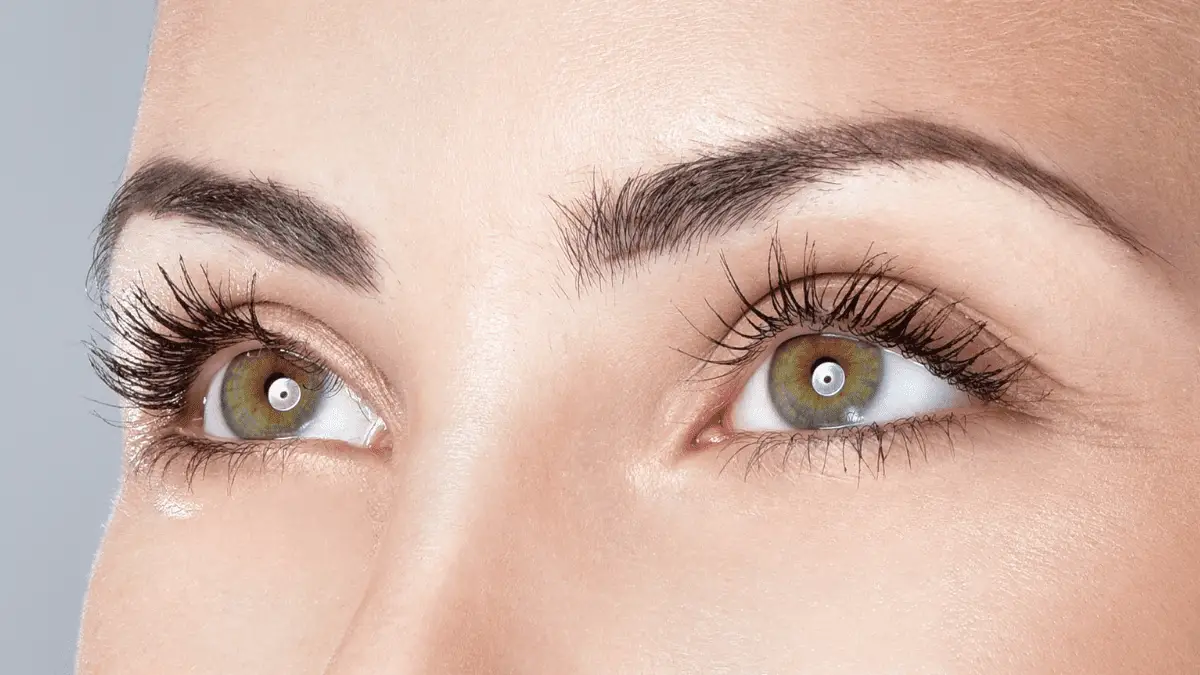
Do a quick Google search and you’ll find that there are a plethora of eyebrow and eyelash tint kits.
And while it’s nice to have so much abundance to choose from, one thing you must absolutely keep in mind is that most of these tint kits aren’t suitable for lashes.
Why? They’re harsh.
RefectoCil, for example, is a popular tint but we wouldn’t recommend it for eyelashes since it tends to hurt and sting a lot more than an eyelash tint needs to, even if you don’t have particularly sensitive eyes.
If you already got some, save it for the brows.
You obviously want to do everything you can to keep eyelash dye out of your eye but mistakes do happen so the gentler the tint, the better.
Different Strokes For Different Folks: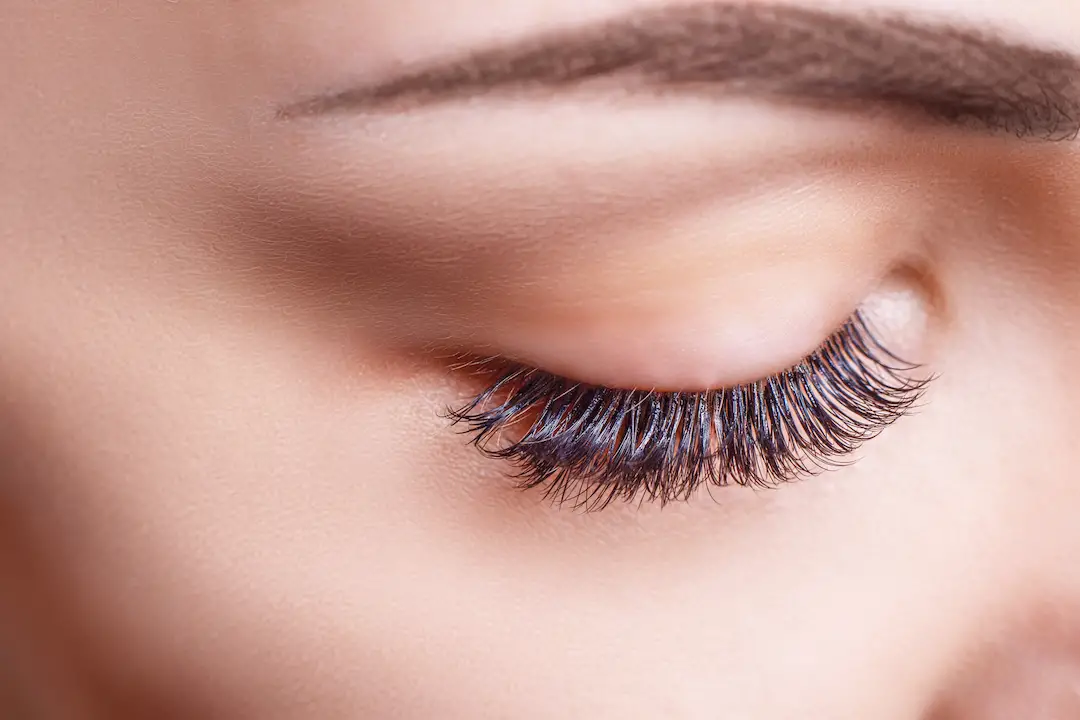
One thing you’ll notice after you’ve tried a few eyelash tint kits is that you absolutely love some of the applicators that are provided while you absolutely hate some others.
And if you ask around, you’ll find a lot of other users who love the exact applicators you hate and vice versa.
The thing is…we all have different eyelashes. So some applicators work better for some than others.
When you’re attempting your first eyelash tinting session, come prepared with more than one applicator.
This is a smart way to quickly figure out what works best for you. Plus, since different types of applicators tend to have their own strengths and weaknesses, having a few gives you the option to switch it up wisely.
Switch It Up:
Dyeing eyelashes at home is overall an easy, straightforward process. The trickiest part? Getting the dye on your lash roots without getting any in your eye.
This is why it’s doubly important to have a variety of applicators.
For example, the mascara wand type of applicators are great for evenly spreading dye on each lash but they can be too bulky to use near the roots of your lashes.
So the smartest thing to do is use to apply the dye from the middle of your eyelashes to the tips.
When it comes to applying dye to the roots of your eyelashes, a smaller, precision-point applicator works better. precision.
An eyeliner brush, a Latisse applicator, or a little stirring stick – these come in some eyelash tint kits, but not all – will do great.
So have at least two types of applicators so you can switch it up for the best lash dye job!
You Probably Have Everything You Need:
Don’t have any disposable mascara wands or eyeliner brushes lying around? Well, do you have any old tubes or mascara or eyeliner?
If you do, you can simply sanitize and re-use these wands and brushes to assist you in your eyelash dyeing process.
So grab your old mascara wand or eyeliner brush and soak it in a bowl of warm water for a good 15 minutes.
Afterward, squeeze on some clarifying shampoo (or castile soap, if you want a natural option) and work it into the wand or brush to remove as much of the leftover product as possible.
Rinse and repeat until nothing comes off the wand or brush.
Once the wand or brush is clean, let’s disinfect it. Boil one cup of water and add two teaspoons of vinegar.
Dip and swirl the wand or brush in the solution and then rinse under cold water. Voila! You’ve now got yourself some “new” applicators!
Multi-Functional Helpers:
Some wonderful products that most of us have lying around the house can prove surprisingly used during an eyelash tint session.
For example, if you don’t have protective eye pads lying around the house, you can quickly make your own by cutting a sanitary pad into a curved shape to fit under your eye.
Another quick hack is if you don’t have any mascara wand type of applicators, raid your bathroom for those little dental picks that look like mini mascara wands – these are even better for thorough eyelash dye application!
Be Stingy:
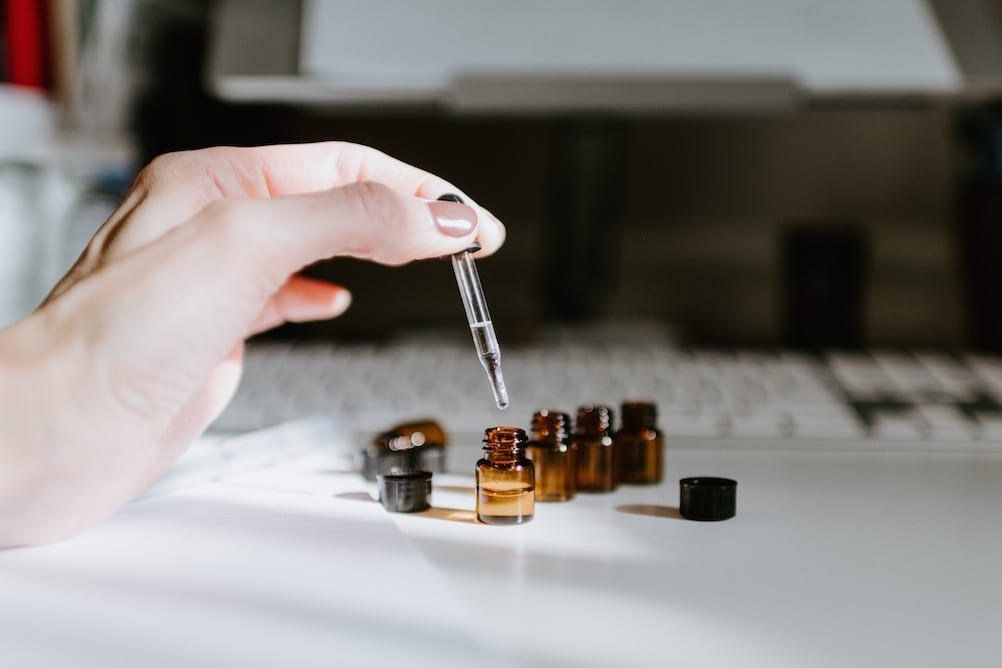
There are two components to every eyelash dye: the cream color and the liquid activator.
When you squeeze (or drop) the cream or liquid onto the tray, be more conservative with the developer solution.
You want to aim for a consistency that’s nice, thick, and creamy as this will make it easier to apply onto your lashes and reduce the risk of it dripping into your eyes.
Just a little bit of activator is all that’s needed so be stingy with the stuff – it’s what makes it sting if it gets in your eyes!
Make it last: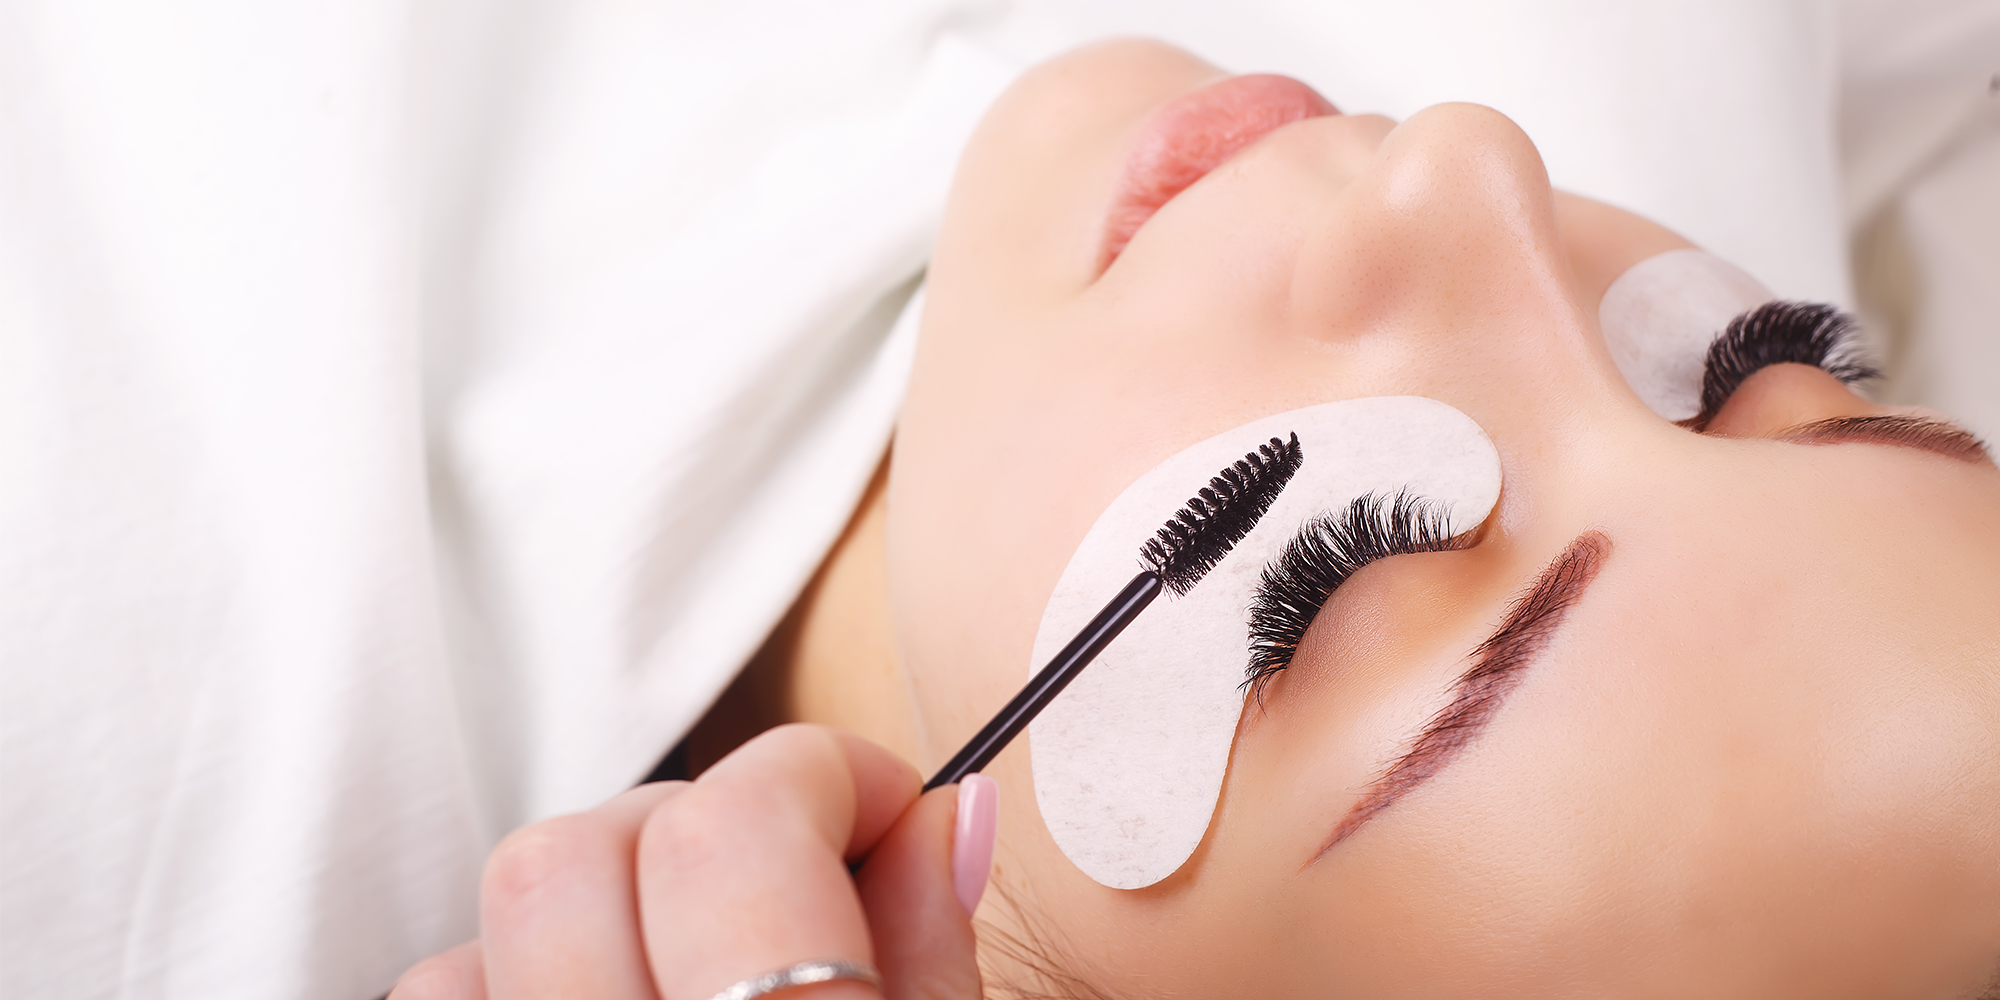
Want to make your eyelash tint last as long as humanly possible? Of course, you do – as straightforward as the process is, eyelash tinting is not something you want to do every week.
One of the simplest ways to guarantee that the eyelash tint will fade a bit slower is to go a shade or two darker.
It may look darker than you’re used to at first, but as the color slowly fades, you’ll have the shade you wanted instead of barely noticeable lashes.
Get more tips on how to make eyelash tint last!
For How Much Time An Eyelash Tint Lasts On Your Lashes?
We have seen that an eyelash tint lasts for around and about four to six weeks time frame on your lashes.
It is because of the natural hair growth on your lashes that this tint tends to lose its color.
If you are using a home-based tint, then its color lasts for a few of the fays.
On the other hand, if you use and apply a professional tint on your lashes, then that product color lasts for a lengthy and longer time.
You can prolong the tint presence on your eyelashes by avoiding exposing your eyes to chlorine and sunlight.
Is Eyelash Tint Harmful For Your Lashes?
No, these tints are not at all harmful and damaging for your eyelashes. You can freely apply them to your lashes.
You just have to follow the manufacturer’s guidelines and get longer lashes in less time.
Furthermore, you need to carry out a patch test before you apply a new and completely unknown tint to your lashes.
The Function Of An Eyelash Tint:
The primary function served by an eyelash tint is to make your lashes prominent and noticeable enough.
It brings magical color and effect to your face.
Moreover, these tints naturally and instantly enhance the look of your lashes. We have noticed that high-quality tints bring maximum definition right on your upper and lower lashes.
With the use of them, your lashes are going to appear and look extremely longer, thicker and fuller.
No doubt, this is a wonderful replacement and alternative if you do not feel like applying mascara.
More Tips On Applying Eyelash Tint:
Before you apply this tint, make sure that you remove all of the makeup from your face.
You need to make use of a lash cleaning foam or you can utilize any makeup removal product in this regard.
There has to be no makeup residue on your lashes. If there is any makeup trace on your lashes, then there is a chance that the tint application may not be successful.
If you do not want this tint to stain your skin, then it is recommended to apply Vaseline right on your eyelid as well as the under-eye area.
Next, you have to customize the wand. Bring it in a 90-degree position and apply this tint seamlessly and conveniently.
Conclusion!
So, what’s the bottom line? The guide on dying your eyelashes is quite simple and easy enough.
If you have just tinted your eyelashes, then you can pen down to us your experience.
Furthermore, keep in mind all the tips that we have above mentioned so that you can gain the best eyelash tinting experience.
It is high time to stop using mascara and use this alternative then! We are confident that with this tint application, your lashes will look thicker, fuller, bolder, and natural-looking.
Keep tuned and connected with us over here.